


Joomla gives you a lot out of the box: a robust content manager, flexible menus, and an extensions manager. But when it comes to letting your visitors comment on your content, Joomla has always left you on your own.
For years, filling that gap meant patching in third-party extensions, juggling separate settings, and hoping everything played nicely together.
SP Page Builder changes that.
As the most powerful page builder available for Joomla, SP Page Builder includes a fully native commenting system. That means if you have SP Page Builder, you have it all.
And in this guide, we'll show you exactly how to get a fully functioning comments section live on your site. Let's get into it.
Does Your Website Need a Comments Section?

Before diving into the “how”, it's worth asking the “why”.
Comments do something that most other site features don't: they signal life.
An active comments section tells a visitor that real people have been here, read this, and had something to say. That builds trust, encourages return visits, and turns passive readers into an actual community.
That said, here's where having a comment section can make the most impact:
Blog Sites: Without comments, a blog is a monologue. A comments section turns it into a conversation, giving readers a reason to engage, return, and feel invested in your content.
Magazine and News Sites: Covering current events or controversial topics without a comments section is a missed opportunity. Readers want to react, debate, and share perspectives. So giving them that outlet keeps them on your site longer.
Event Hosting Sites: Questions before an event are inevitable. A comments section handles them publicly, so one good answer benefits every attendee asking the same thing.
Video and Image Sharing Platforms: Content without engagement is content that gets scrolled past. Comments can turn a one-time view into a community moment.
A good rule of thumb could be that if your visitors are coming back regularly, they have something to say. Give them a place to say it.
How to Add Comments in Joomla Websites
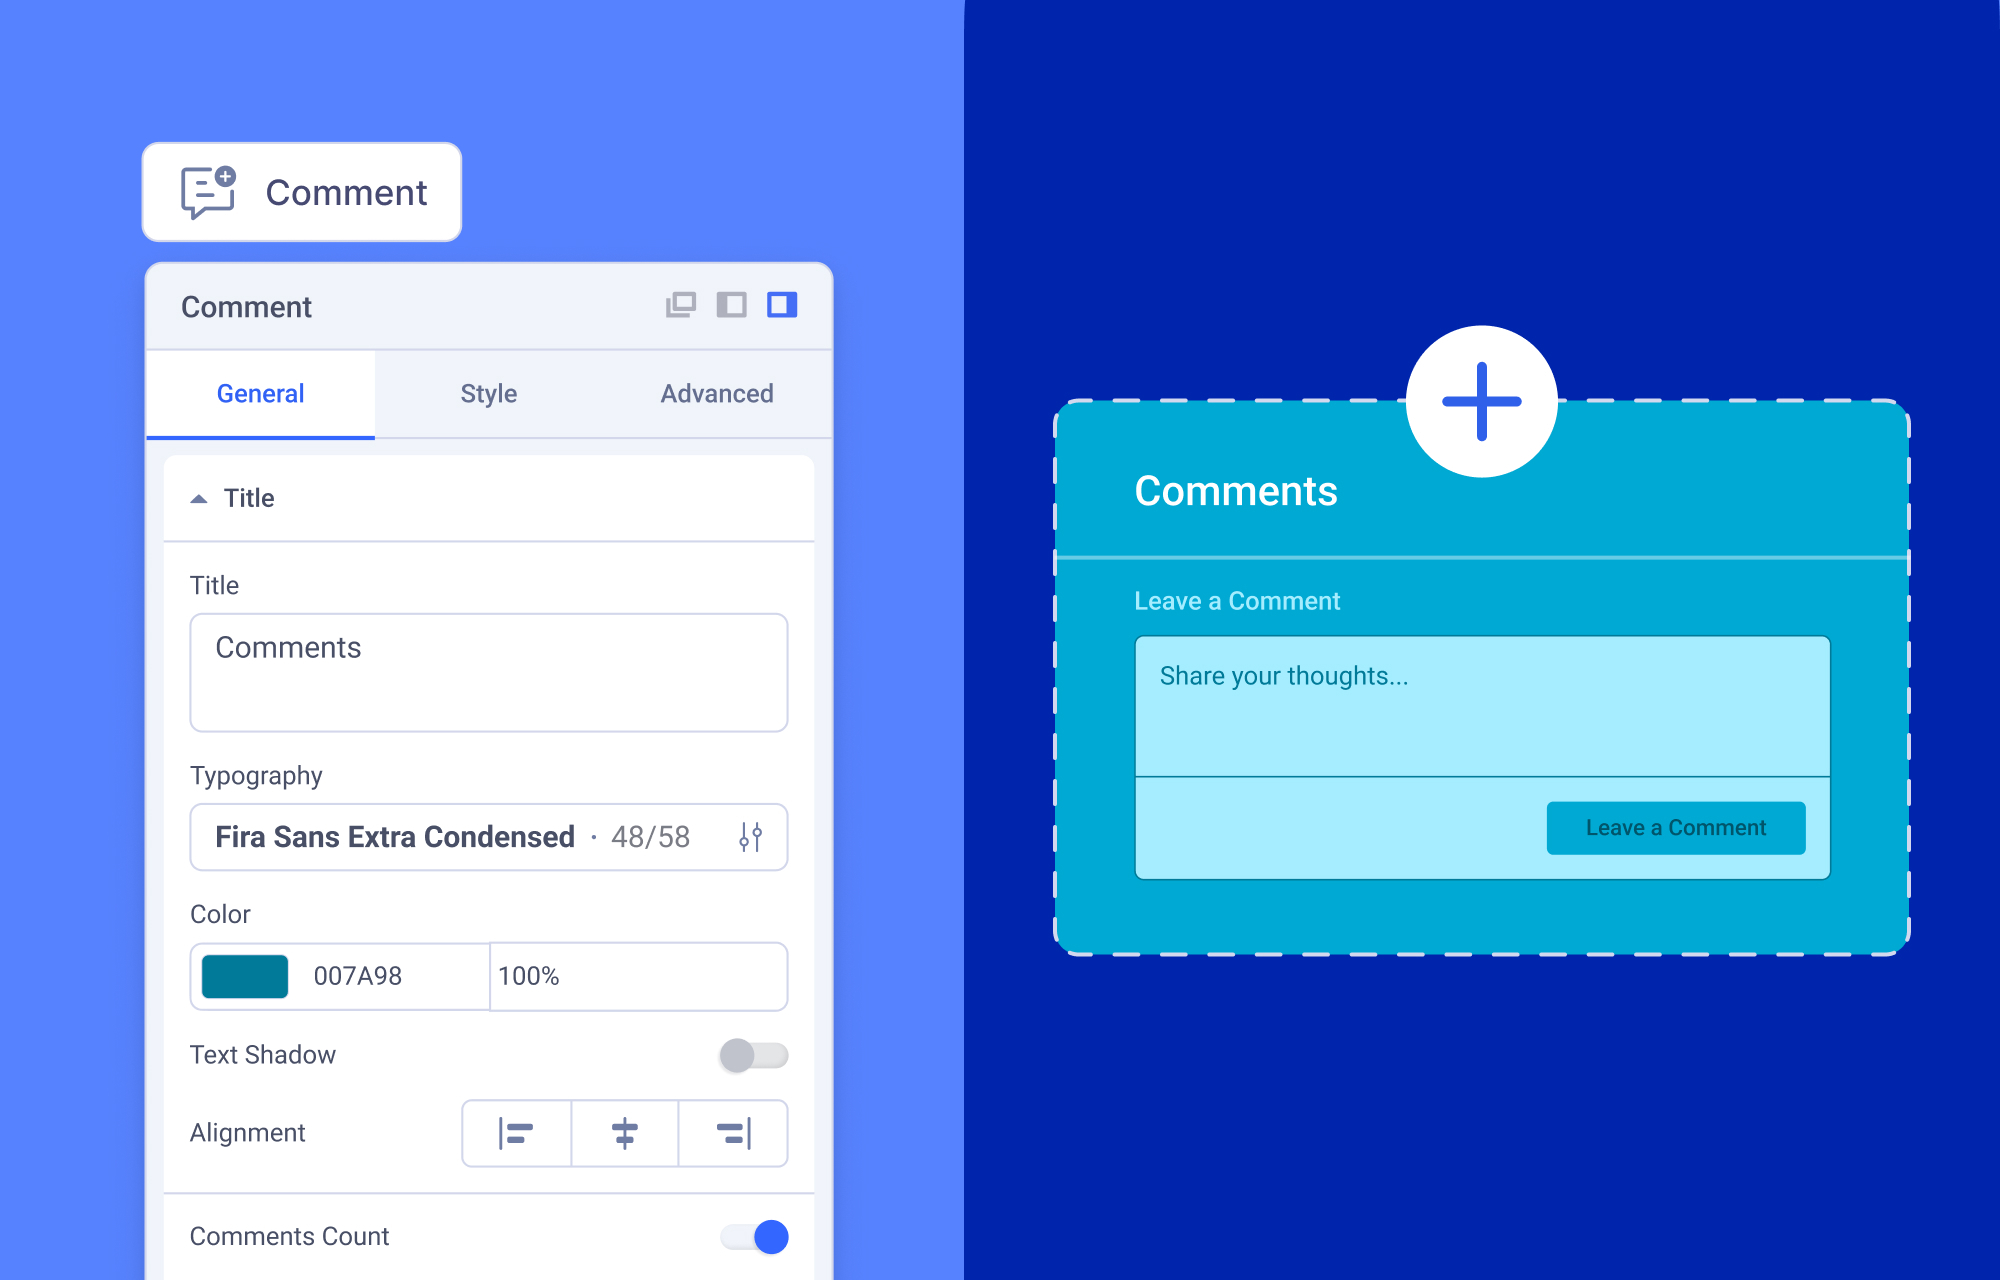
Joomla doesn't include native commenting functionality. Traditionally, site owners have had to rely on third-party extensions to fill this gap.
However, if you're using SP Page Builder, you already have everything you need built right in.
SP Page Builder's Comments Addon is designed to be as simple as possible to implement. Just place it on your SP Page Builder pages you're building, configure it to your liking, and it's ready to go.
The types of pages where you can apply comments are:
Native Joomla Article Pages
Dynamic Article Pages created using SP Page Builder
Any SP Page Builder Dynamic Details Page
Now, let's go through how to apply comments to each of these types below.
Native Joomla Article Pages
While Joomla includes an extensive Article Manager for creating, editing, and publishing articles, it lacks native support for adding or managing comments.
With SP Page Builder, you can simply insert the aforementioned Comments Addon while editing the articles, and also manage the comments later on in the backend. Here’s a brief overview of the process:
First, you need to add blogs to your site by going to Content > Articles. Create a new article by clicking on + New, or click on an existing article and then click SP Page Builder > Edit with Backend Editor or Edit with Frontend Editor.
Create a section for adding comments and insert the Comment Addon. Edit the addon as per your design requirements.
Dynamic Article Pages created using SP Page Builder
One drawback of Joomla article pages is that you have to set up the layout for each article page individually.
With SP Page Builder's Dynamic Content, instead of laboriously editing each article page individually as you would with native Joomla, you can now create a single design that applies universally to all your articles, which includes applying the Comments Addon to every article in one go. Here, the Joomla articles will serve as the dynamic collections.
Go to Components > SP Page Builder > Pages and click on the + Add button. Then select New Article Page > Detail Page. Insert the Comment Addon on this page.
This is a very concise overview to give you enough of an idea to get started. However, you could get a more detailed explanation of how to create a complete blog site (along with adding comments) in our tutorial on creating a dynamic blog in Joomla.
Any SP Page Builder Dynamic Details Page
Dynamic Content isn’t limited to just blogging and can be used for a plethora of applications. For instance, when building a portfolio to display your work, you can make a collection for your projects, an index page for a list, and a details page to show each project by accessing the collection's content.
In this details page, you can also use the Comment Addon to let users give feedback on your work. You can learn more about the applications of this feature in our introductory blog on dynamic content.
The first thing you need to do is set up Collections by going to Components > SP Page Builder > Dynamic Content.
Go to Pages and click on + Add, but this time go to New Dynamic Content Page > “Your Collection’s Name” > Detail Page.
As usual, create a section and add the Comment addon wherever you deem appropriate.
Customizing the Comment Addon
The Comment addon is fully customizable and can be tailored to your design requirements. You’ll be able to change the typography, color, and hover effects of all the elements of the addon. Let’s explore some customization options and see how you can replicate the demonstration shown above.
Title: This indicates the heading for the comment section, so naturally, let’s name it something like “Comments”. We changed the typography to “Verdana” font to remain consistent with the rest of the site, but remember, you should always use the font style that is consistent with your own project. Enable the comment count visibility as well to keep track of all submitted comments.
Label: This part specifies the text or caption displayed for the comment. In our demonstration, we have enabled it and kept the default text, “Leave a comment”.
Comment Field: Specify the comment placeholder text here and customize the font and color of the text, as well as the dimensions of the comment box. Here, change the text to “Share your opinion!” and set the background hover effect color to a shade of grey, like #D6D6D6.
Post Button: Modify the comment submission button's look and functionality by setting its text to "Post Comment," allowing anonymous submissions, and switching the button style from "Default" to "Primary."
Edit Comment: This setting lets you change how the comment editing interface looks and behaves, such as the appearance and typography of the Update and Cancel buttons. For now, set the appearance of the Cancel option to the “Outline” style.
Commenter Name: Next, let’s tinker with the name displayed for each commenter by setting the font to the “Verdana” font again.
Time: In the Time settings, we have kept the “Timestamp” and “Show Edit Time” options enabled to make the post and edit times of each comment visible to all users.
Posted Comment: This setting is for controlling the appearance of the text for submitted comments. Here, the only change we made was changing the text color to dark grayish blue, or #444B60.
Ellipsis (three-dot) Action: Use this setting to alter the appearance and behavior of the ellipsis (three-dot) menu for each comment. Change the basic button style to “Default”, but for the action buttons (“Edit” and “Delete”), set the appearance to “Outline”. This creates a unique hover effect for whichever button is active.
Likes: Implement likes in the comments section and adjust the typography, color, and hover effects. We kept this setting enabled in our demonstration.
Reply: Finally, the goal of comments is to increase engagement and allow users to interact with one another. So, this option should be kept enabled as well.
How to Monitor Comments as the Site Administrator
Initially, you’ll have to configure comment settings by going to SP Page Builder > Settings > Comments. The primary options are:
Comments must be manually approved: This way, the administrator must approve each user’s comments.
Comment author must have a previously approved comment: If a user has a previously approved comment, their next one will be posted automatically.
Enable Gravatar: This setting allows you to display user avatars by fetching them from Gravatar, using the user's email address.
After enabling comments, you obviously need a way to monitor and control them. SP Page Builder has you covered in this regard, too.
Go to your Joomla dashboard, then navigate to Content > Comments. Here are the ways you can manage comments:
Approve comments: If auto-approval was disabled in the SP Page Builder settings, you can manually approve user comments.
Delete comments: Remove undesirable or spam comments to maintain the quality of community interactions. In the demonstration shown, we see a spam comment consisting only of "Hello" from one user, and a negative comment, "Terrible article!", from another. Deleting such unwanted comments is as easy as selecting them and then clicking Trash.
Unpublish comments: Alternatively, instead of deleting comments outright, some comments can be unpublished and republished depending on the situation by clicking on Unpublish.
Final Result
After you've followed all the steps, your commenting system should look something like this:
Your site visitors can now freely leave comments and interact with other users.
